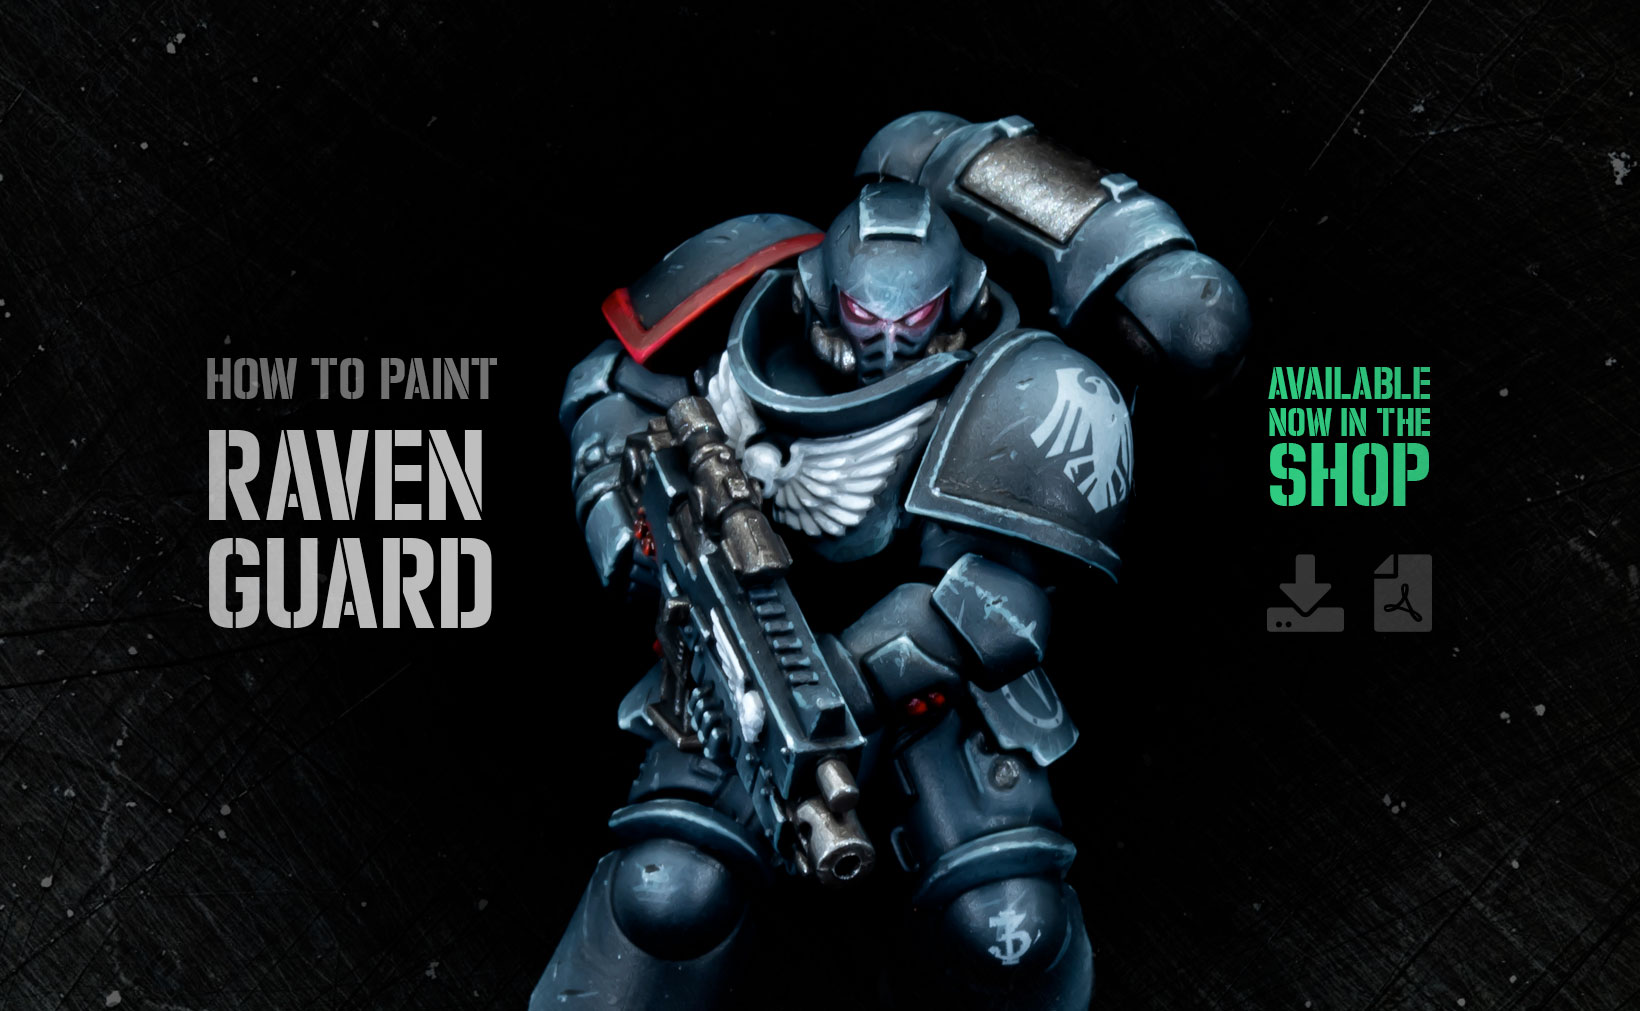
How to paint Raven Guard now available in the shop!
The latest PDF Painting Guide, How to Paint Raven Guard is now available in the shop!
As well as all the steps required to paint the midnight-black armour, a mini guide is included on white armour parts for 1st Company and Veterans, and alternative shoulder trim colours for different companies.


Hi Luther, great guide and I’m working through it at the moment. Tried out my first model today, but just have a few questions.
1. Regarding the initial highlight, (Step one) is this more of a 45 degree arc (either side) down highlight, basically trying to catch everything that isn’t pointing perpendicular to the ground. Then the second highlight a less angled (smaller arc) highlight, then the final highlight pretty much straight down to catch the most prominent bits (i.e. anything pointing straight up?)
2. Is there any advantage to airbrushing the wash/filter colour (Step 4)?
Cheers, and keep up the great guides!
Hi Greg,
Answers to your questions:
1) Broadly speaking, yes. But try to target each part of the model individually rather than a blanket spray all over from above. I usually start at the bottom and hit the feet, lower legs, knees, upper legs, arms, shoulder pads, helmet & backpack. So you want to get in fairly close and hit each of these parts one by one, being gentle on your trigger. Hopefully this makes sense when you look at the pictures. Repeat this for the second highlight, just even lighter / more gentle on trigger. Just a little burst on each area.
2) On infantry, when the shading wash is a similar colour to the base armour colour (here we’re dealing with blue-black in both cases), I find it better to apply with a normal wet brush. That way you will get more range / contrast between your shadows and highlights.
Hope this helps, let me know if you have any other questions!
Cheers,
Luther