How to paint A.R.C. terrain (Part 3)
Part 3: Insert sections and screens
There are loads of add-ons and insert sections available for the A.R.C. terrain to add cool details to your environment. I came up with a quick process to paint these but still have them blend in with the more involved process used to paint the wall sections in Part 1.
3.1 Base coat and decals
As with the walls, the parts were primed with Vallejo 70.605 German Red Brown and base-coated with a couple of light coats of Vallejo 72.024 Turquoise. The metal parts were painted with Vallejo 77.723 Exhaust Manifold. I then applied some transfers from our Urban Industrial sheet (for instructions on applying Mighty Brush transfers, see here).

3.2 Chipping
For the chipping, I used a method that’s easier to achieve on small parts like these. I took a small piece of sponge gripped in a pair of tweezers and dipped it in some Vallejo 70.822 German Camouflage Black Brown. I dabbed this on a piece of paper to remove the excess and then dabbed it on the part. I concentrated mainly on the edges that would receive the most wear, but applied some also to the flat surfaces.

3.3 Shading wash
Next I gave the parts a coat of Citadel Seraphim Sepia. This provides some shading and blends the transfers in, and also gives the effect of a layer of grease and grime.

3.4 Rust
The rust effect was created with Dirty Down Rust and this is a good example of the range of effects that can be achieved with a single product. The darker areas were applied after allowing the paint to congeal for a while on the palette, and the lighter areas are thinned with a little water. See Part 1 for more details on this product.

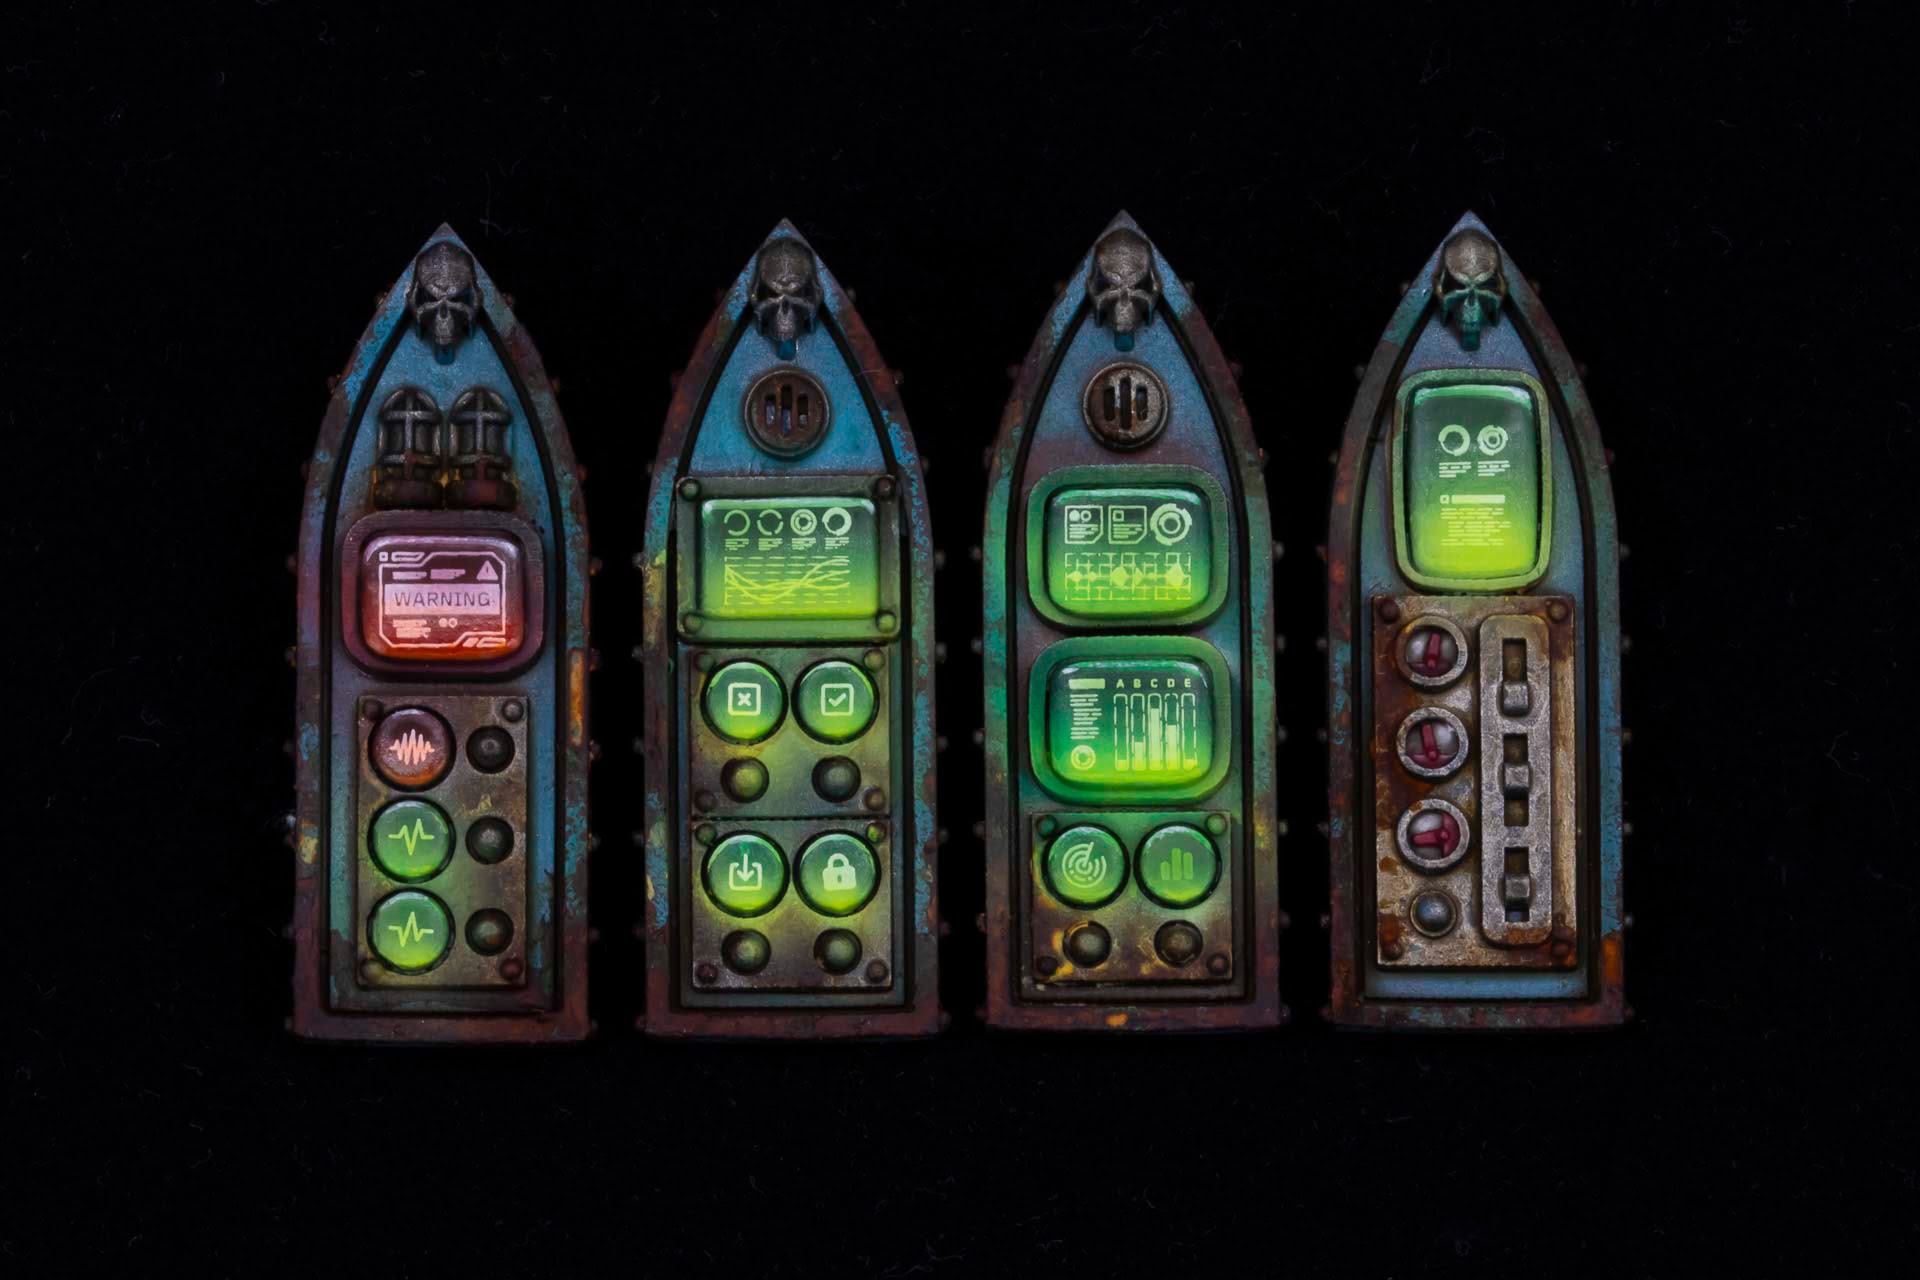
3.5 Screens – base coat
The screens were base-coated with Vallejo 70.980 Black Green. This paint covers easily in two or three coats thinned slightly with water on a wet palette.

3.6 Screens – edge highlights
A white edge highlight was applied to the top of the screens. I used Liquitex 432 Titanium White ink but you can use any white paint.

3.7 Screens – glow base
Liquitex 432 Titanium White was applied to the bottom half of the screens with an airbrush. The ink can be used undiluted but make sure you shake the bottle well and stir in the paint cup of your airbrush before spraying. I used a 0.2mm needle at about 30spi.

3.8 Screens – colour
Next I applied a couple of coats of Vallejo 70.954 Yellow Green with the airbrush, thinned approximately 1:1 with water. Don’t worry about a little oversrpay – this just adds to the glowing effect.

3.9 Screens – decals
Next I applied some transfers to the screens from our new Displays & Screens sheet (for instructions on applying Mighty Brush transfers, see here).

3.10 Screens – shading wash
Next I applied a shading wash with Citadel Biel-Tan Green. This blends the transfers in and takes the screens back to a green colour.

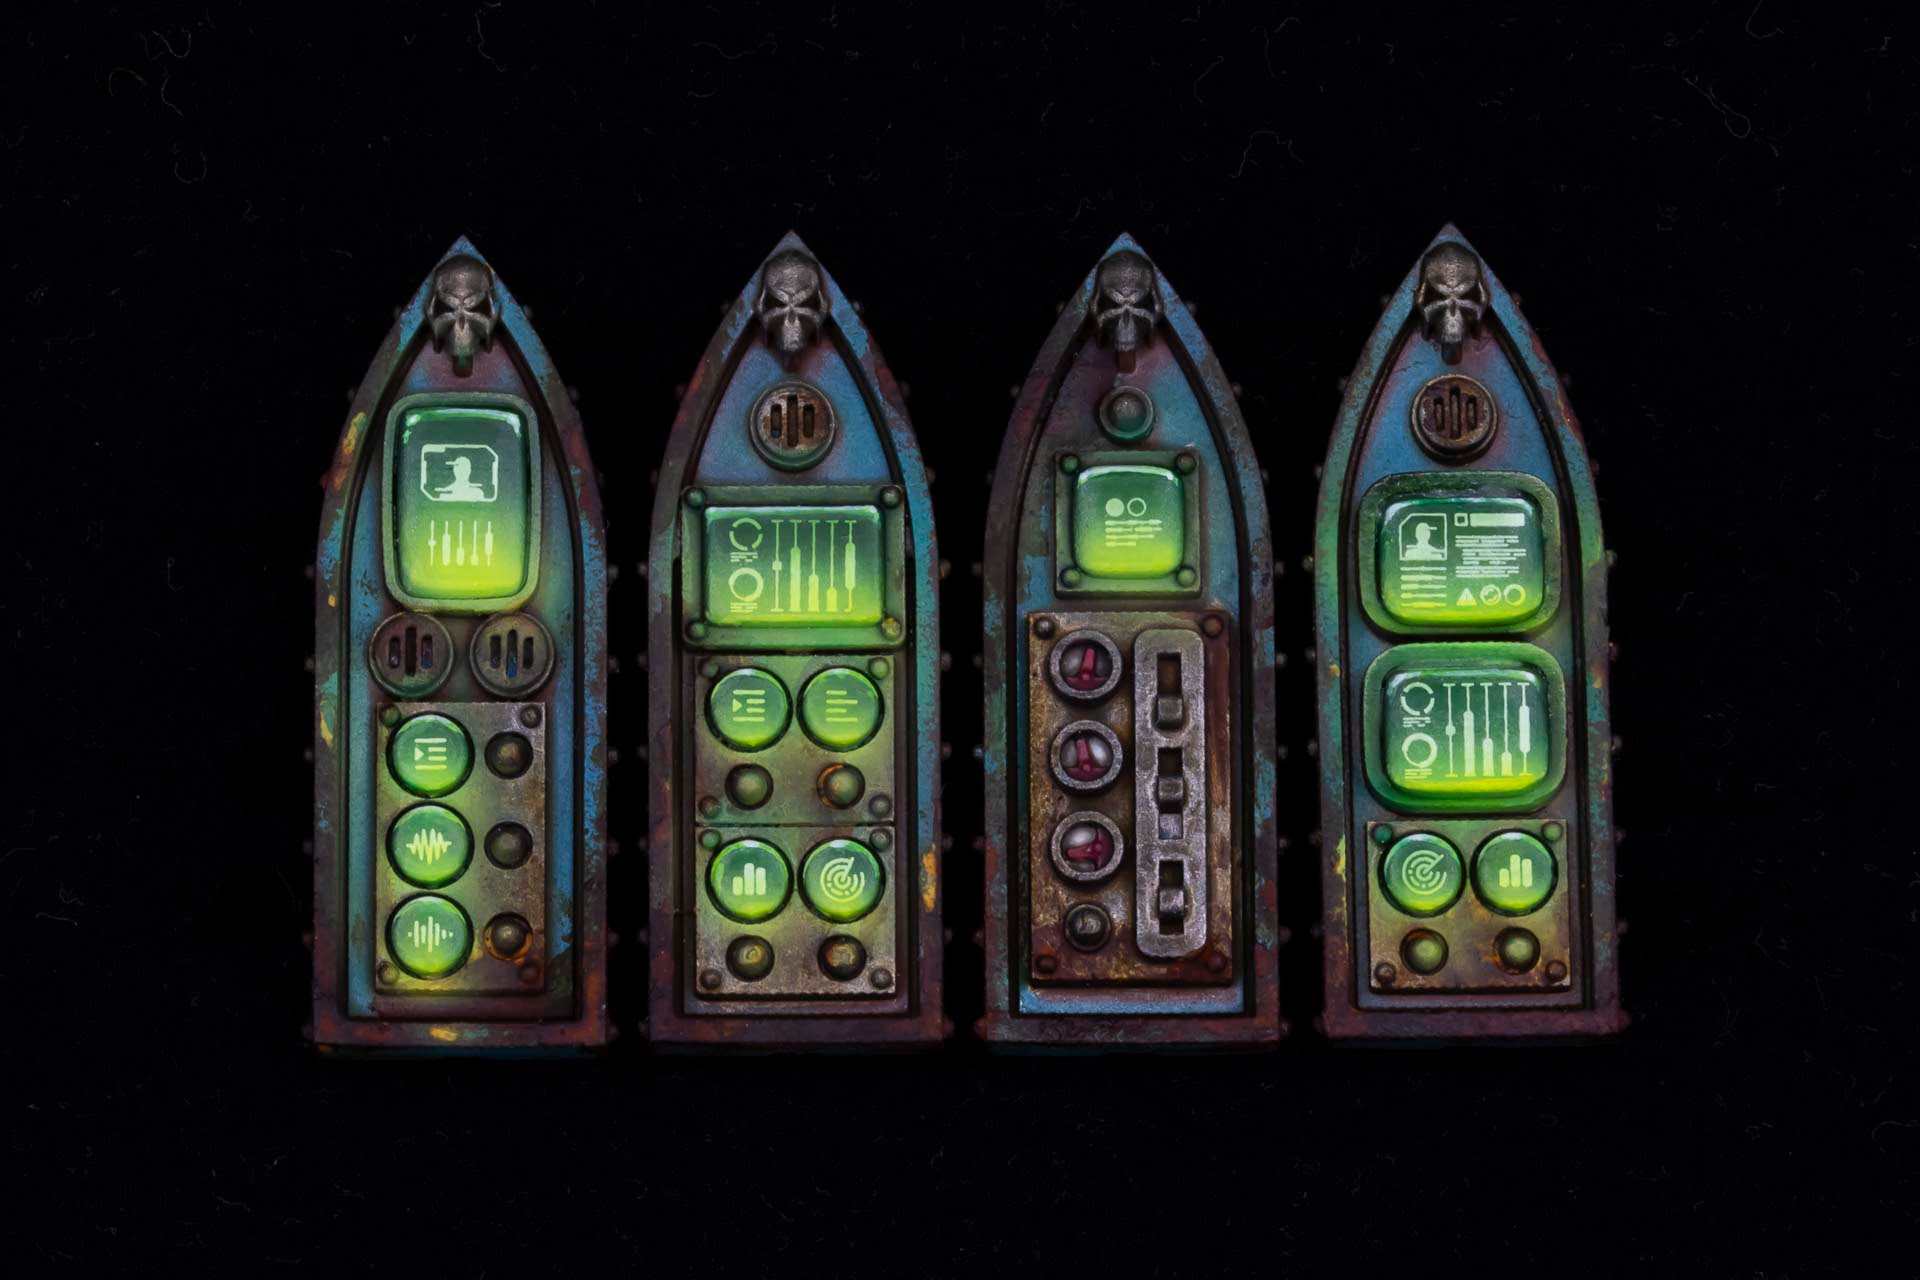
3.11 Screens – finishing touches
The finishing touches were to spray a little more Vallejo 70.954 Yellow Green from below, to the bottom of the screens to exaggerates the glow; and to go back over the edge highlights at the top with white. This was not done along the whole length of the edge highlights, but rather concentrating on the corners to create a double-layered effect.

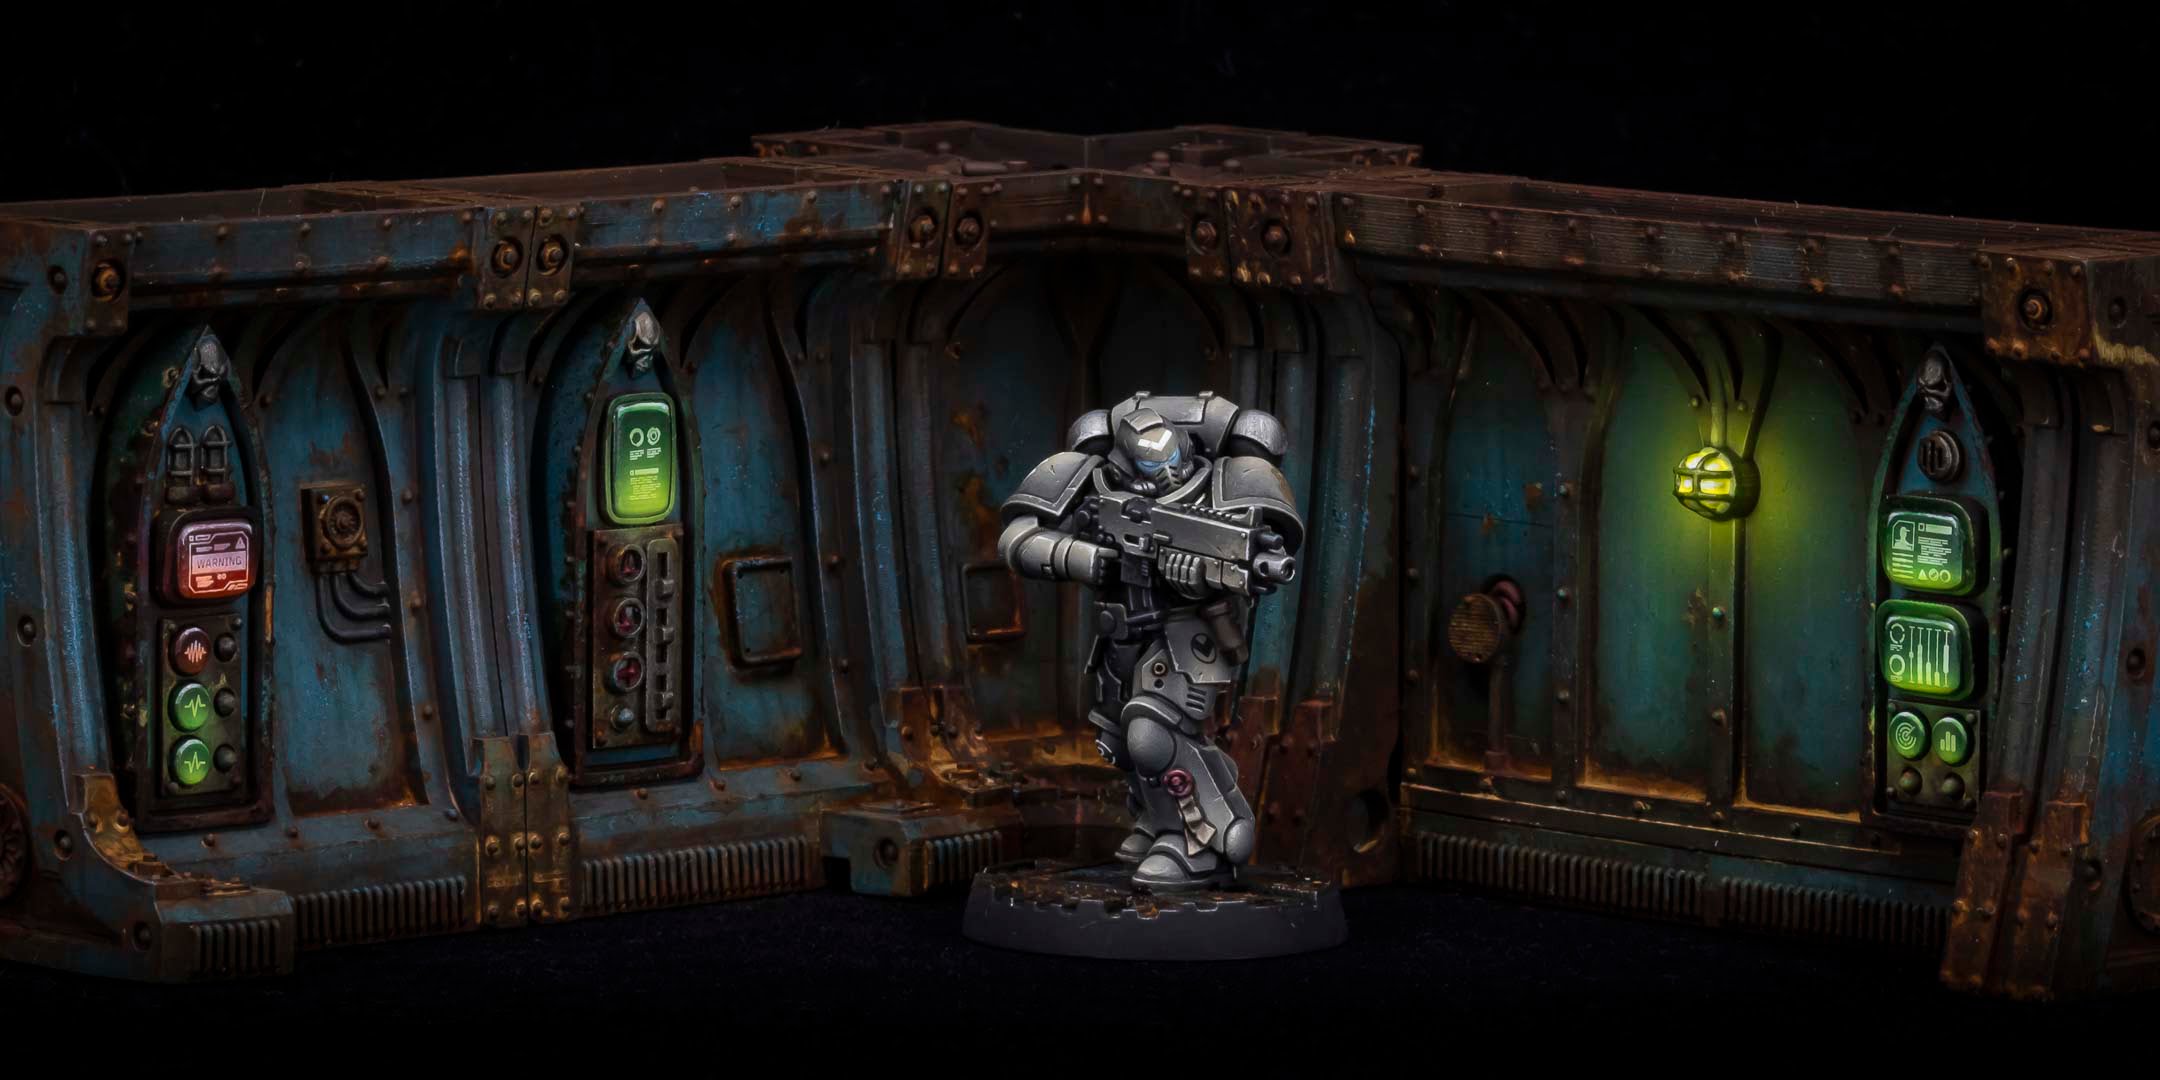
The finished result