How to paint Blood Angels – Part II
UPDATE: After three years and lots of positive feedback, this guide has been superseded by a new version, available to buy as a PDF download in the shop. The process has been reviewed and streamlined to help you get models on the table quicker, and new paints, colours and techniques explored. I will leave this free version up for anyone who still finds it useful, but I strongly recommend checking out the new version. Of course, the small fee I charge for it will help enable me to continue putting out this kind of content – so thanks for your support!
Welcome to the second part of this three-part tutorial on how I paint my Blood Angels. Check out Part I here where we cover the base red armour and airbrush steps, and Part III here which gives an overview of the finishing touches.
Now it’s on to detailing the model…
Step 6
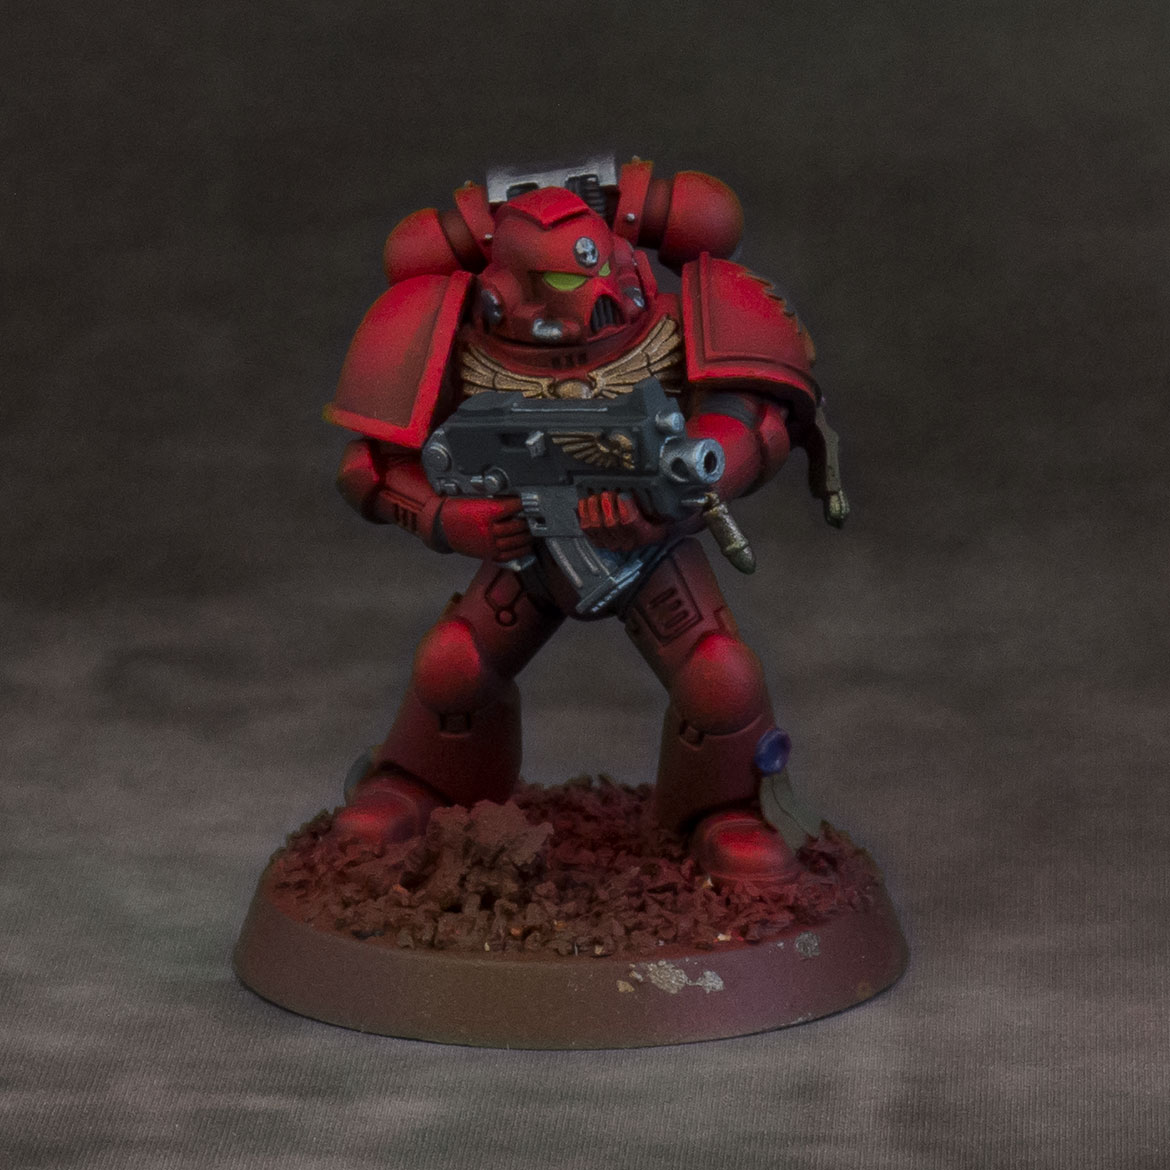
Paint all the parts that will be black or steel with Vallejo Model Color ‘Black Grey’ (70862). We will be giving the black areas a black wash to shade them, so we want to start off lighter than pure black.
Next paint the steel parts with Vallejo Model Air ‘Gungrey’ (71072). This is an airbrush paint but works great with a normal brush too, giving good coverage and a smooth finish in one or two thin coats.
Paint the parts that will be gold using Forge World Castellax Bronze. This is also an airbrush paint but it works great for the same reasons given above and provides a nice base colour for gold (very similar to the old and much beloved ‘Tin Bitz’).
Paint the parchment with Vallejo Model Color ‘Burnt Umber’ (70941), the purity seals with Vallejo Game Color ‘Royal Purple’ (72016) and the eye lenses with Vallejo Model Color ‘Lime Green’ (70827).
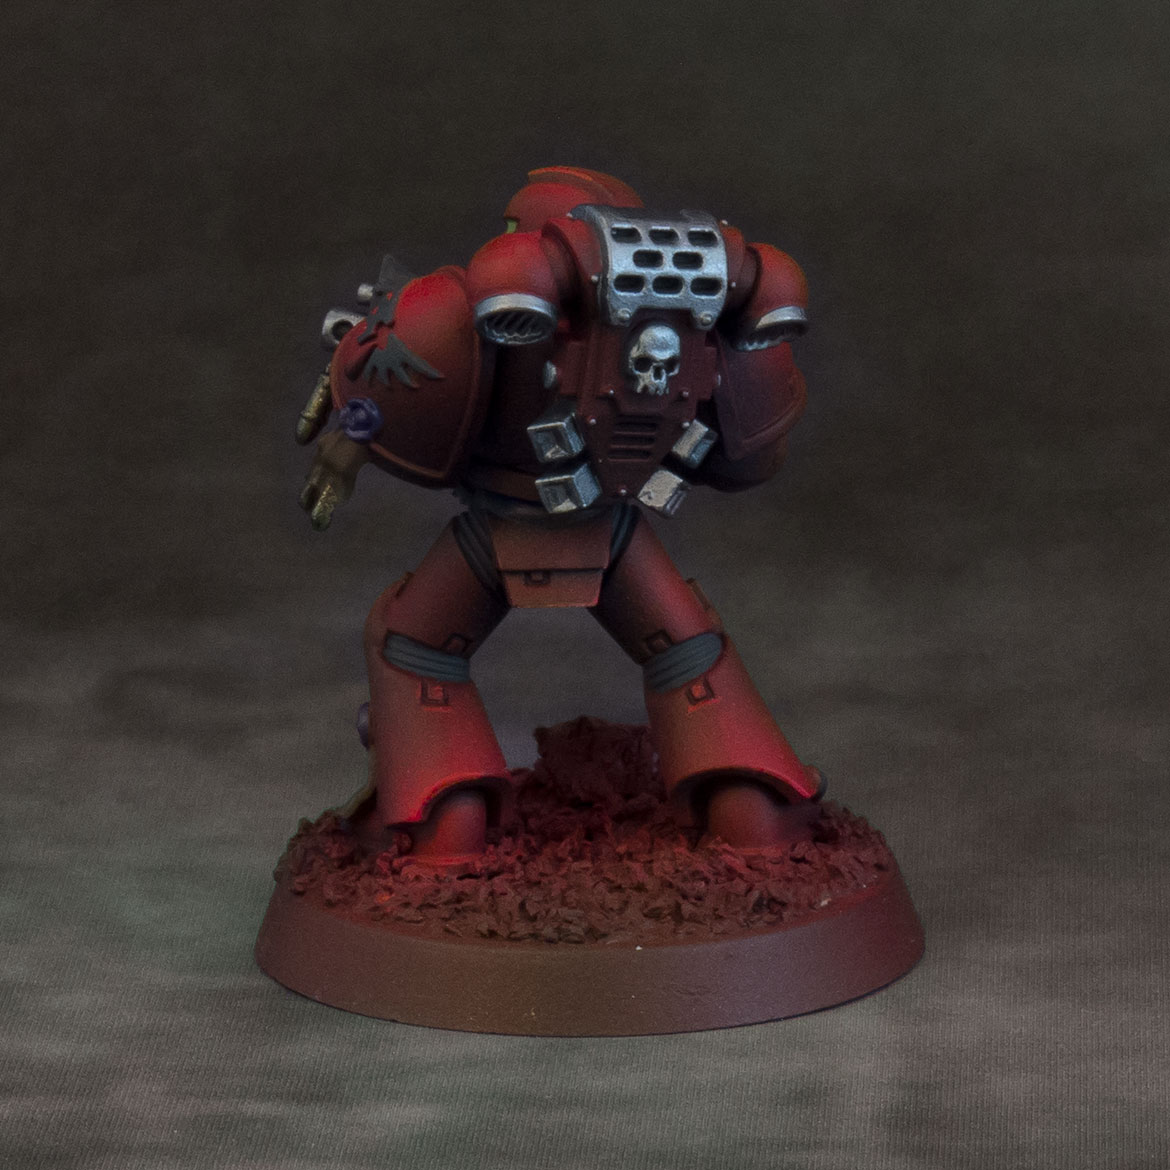
Step 7
Now the model is given a gloss coat using Humbrol Gloss Clear through the airbrush. Once dry you can apply decals using Microset and Microsol (tutorial coming soon…).

Step 8
Next I apply a wash made from 30ml Humbrol Gloss Clear to 2ml Daler Rowney FW black ink over the whole model to shade all parts and colours.

Step 9
Next the model is given a coat of Lahmian Medium through the airbrush to dull the gloss and give a semi-matte finish.
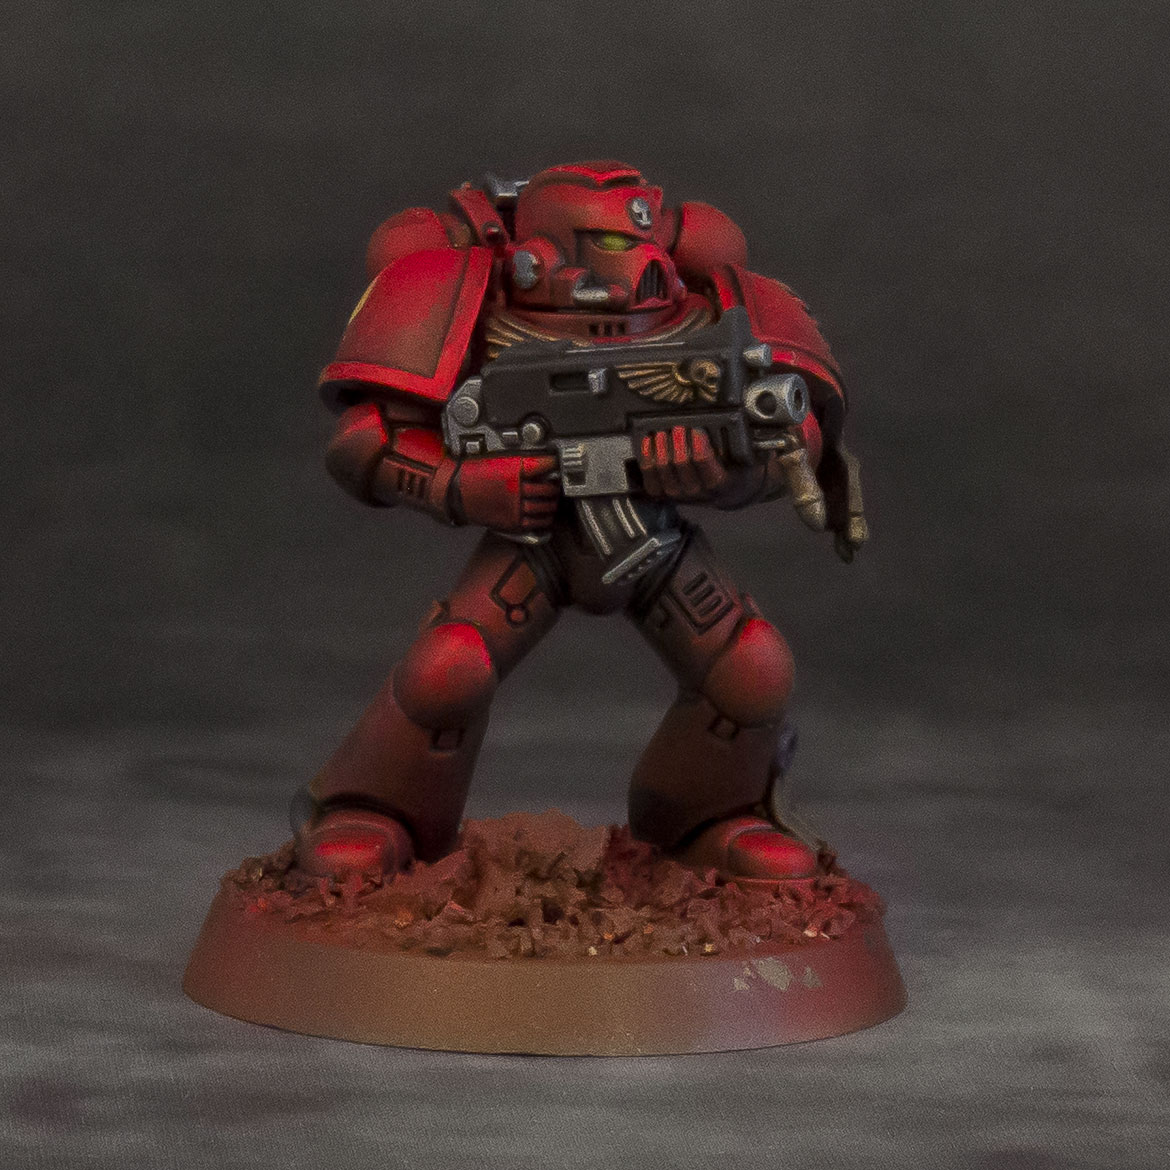
If you are just looking for a table-top standard you can paint the base in your chosen colours and stop here, but in the next part we will be adding some final highlights and finishing touches…
Check out Part III here.